
Wood Pendant Light Assembly Instructions:
Step 1: Unpack the package and lay out all the components on a clean and flat surface.
Step 2: Identify the Upper Ring and Lower Ring components. The Upper Ring is usually larger in size compared to the Lower Ring.
Step 3: Take the Upper Ring and apply a small amount of glue on the inner rim of the ring.
Step 4: Carefully place the Wood Blade onto the glue, ensuring it is aligned properly with the ring. Press down gently to secure it in place.
Step 5: Repeat Step 4 until all the Wood Blades are fixed onto the Upper Ring. Make sure to evenly space them apart for a balanced appearance.
Step 6: Once all the Wood Blades are attached, apply a thin layer of glue on the top surface of each blade to reinforce the bond.
Step 7: Now, take the Lower Ring and apply a small amount of glue on the inner rim.
Step 8: Place the Lower Ring onto the Wood Blades, aligning it with the Upper Ring. Press down gently to secure it in place.
Step 9: Allow the glue to dry according to the instructions provided by the manufacturer, usually for a few hours.
Step 10: After the glue has completely dried, double-check all the connections to ensure stability.
Step 11: Your Wood Pendant Light assembly is now complete. Install it in the desired location following the manufacturer's installation instructions.
Note: If you encounter any difficulties during the assembly process or have any questions, please refer to the manufacturer's provided instructions or consult our customer support for further assistance.
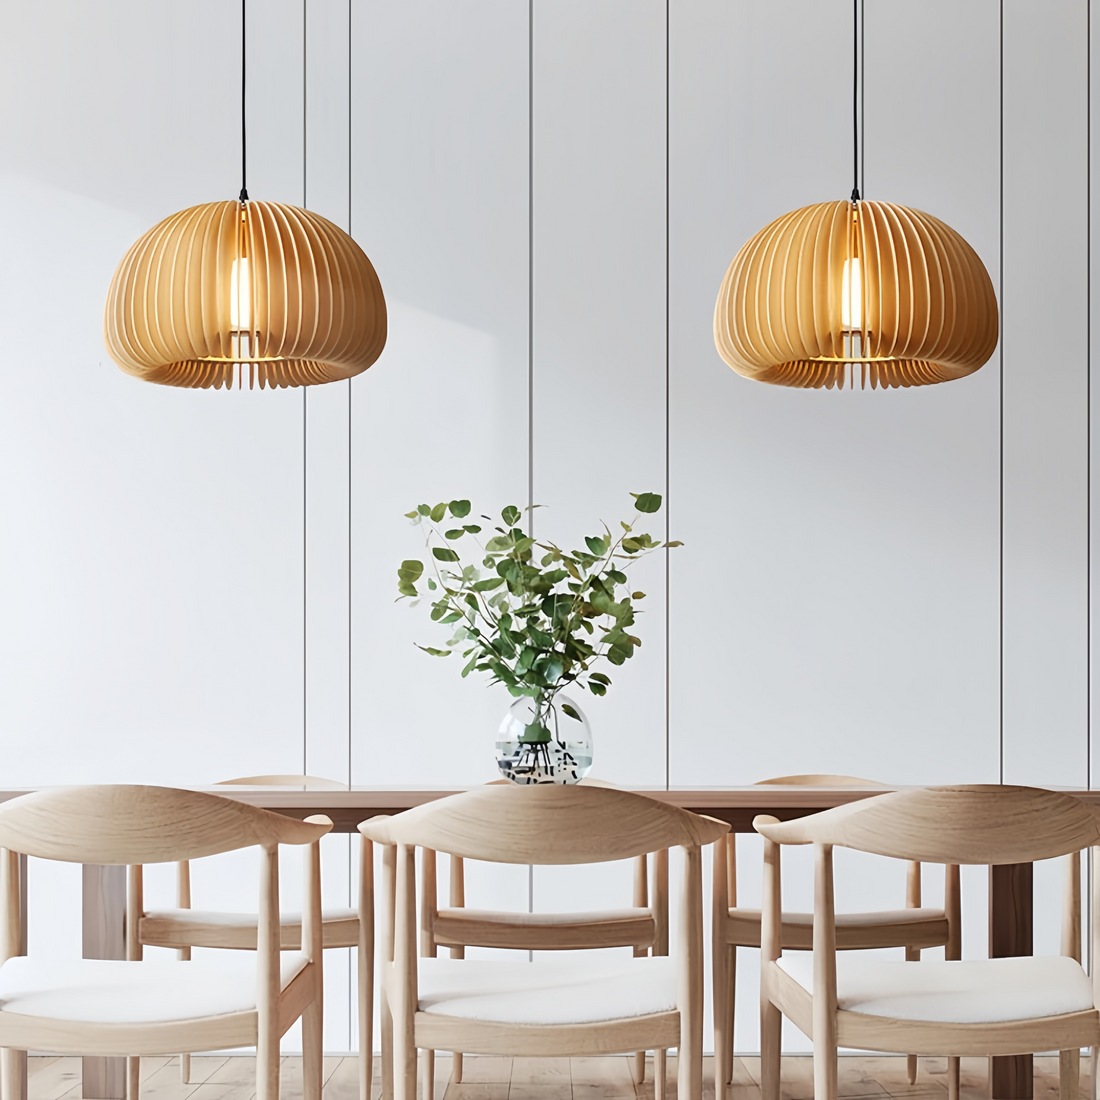
How to Make Customizable Wood Pendant Light
Related Posts
-

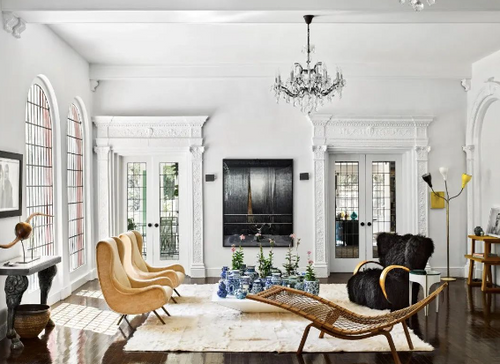
The Ultimate Guide to Choosing the Perfect Sofa for the UK Market
In the ever - evolving landscape of interior design, the sofa stands as the centerpiece of any living room. In the UK...
-
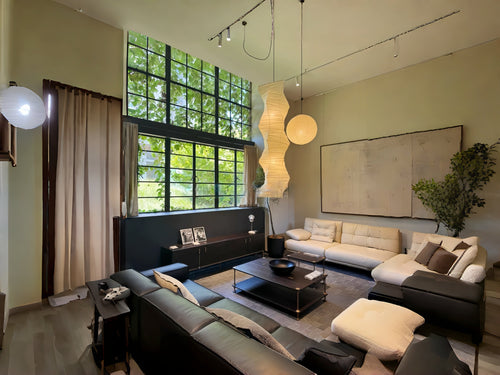
Wabi-Sabi Lighting: How Japanese Floor, Wall & Pendant Lamps Can Transform Your UK Home
Embrace Imperfection, Quiet Luxury & Mindful Living with Orangme’s Handpicked Japanese Lighting Collection Hey UK...
-
Home Decorations - The Best Way to Express Yourself
Decorating is an exciting, creative process that allows people to craft living spaces that reflect their unique style...


