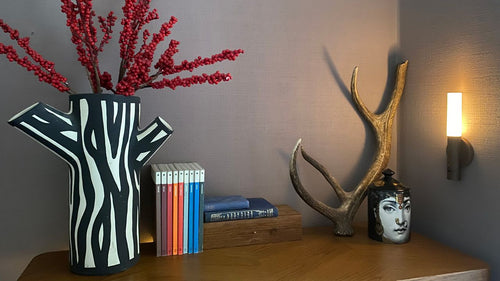
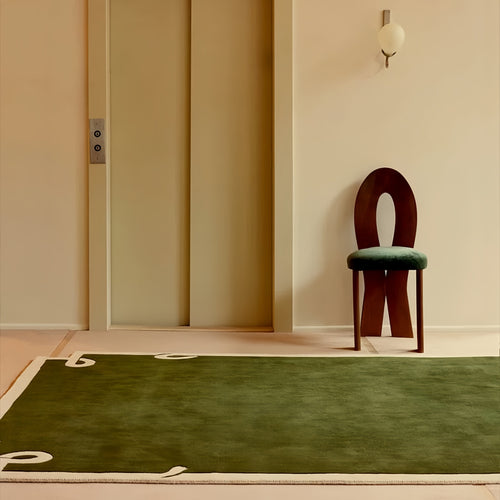
Well-positioned wall lights can add an extra dimension to your lighting scheme, bringing in subtle ambient and practical task lighting. They can also enhance a room's character and style.
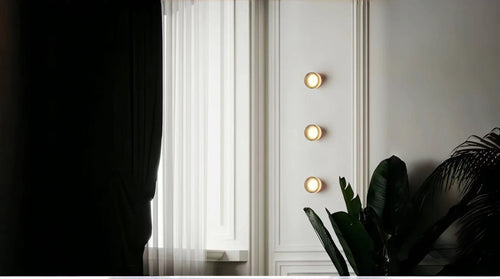
While it can vary depending on the height of your ceilings and your personal preference, a good guideline is to hang wall sconces at eye level.
Measure the Wall
A well-positioned wall light can enhance the look of any room and make a statement in its own right. They're also a great alternative to a ceiling fixture in rooms with low or vaulted ceilings or where the space for a central light is simply not available.
To ensure that your new lights will be positioned at the correct height, measure from one side of the room to the other and mark the point where you wish to position your sconces. It's also a good idea to use a stud finder to locate the two vertical wall studs and mark them.
When you're happy that you have the locations marked, you can turn off the power at your consumer unit and then remove the existing light fixtures to reveal the 14/2 wires beneath them. You can now splice in your new lights. If you're introducing an additional wall light to an already switched circuit, be sure to connect the black (or ground) wire to the black fixture lead and the white to the white fixture lead.
Cut the Cable Channels
Wall lights can be positioned in a variety of ways to give a room its character and ambience. They can help accentuate an art piece or create a more relaxing, calm ambient lighting in a hallway. Staggering wall sconces along a corridor can also create an elegant, flowing feel to the space.
Before starting any electrical work, always switch off the circuit breaker that controls the fixture you are working on. This ensures the wires in the outlet or switch box aren’t live and that you won’t accidentally turn on the fixture or start a fire.
Use the paper template from the light switch (if provided) as a guide to mark a hole in the drywall for the new fixture. If using a screw-in box, make sure the screw holes are clear of paint and drywall.
Usually, the white and black wires pass through a knockout in the back of the outlet or switch box. You’ll need to cut the cable down to 8 inches or so and strip off the sheathing to expose the wires. Attach the white wire to the white wire in the switch and the bare copper ground wire (if used) to the circuit ground wire.
Lift the Floorboards
Wall lights are an attractive way to add light in areas of a room where a ceiling fixture wouldn't be possible. They can also give a room character and ambience by creating a decorative feature on the wall or simply adding warmth with their ambient glow.
Ensure you have the right tools to lift your floorboards before you begin. This includes a crowbar and possibly a small screwdriver or chisel to make the initial cuts to pick up boards in difficult places. Wear a dust mask as you work to prevent any wood chips from irritating your lungs and eyes.
The first board to be lifted will be along one of the edges of the room, and you'll need to use a crowbar to lever it up against the adjacent boards. If you can get the board up this far, it will probably have a number of nails or staples holding it to the joist, which will need removing.
After you've removed these, it will be easier to lift the boards, but don't force them up too far. This could cause damage to the boards or the joist underneath.
Fit the Base Plates
A well-positioned wall light can add a huge amount to your home. The great thing is that these lighting fixtures come in a range of designs to suit your decor. If you can follow simple electrical guidance, then this is a job that you can do yourself without the need to call in professionals.
Ensure that the power supply to your circuit is turned off before starting any work. You can use an electrical tester to check this. If you are not confident in turning off your power, then it’s best to have a qualified electrician carry out the work for you.
The cable that brings the electricity to your new wall light can either run directly from the ceiling rose or from a lighting circuit junction box. If you are using a junction box, make sure that you remove the cover so that you can reach the wires to connect to your new fixture.
Mark the locations where you wish to mount your lights. It’s important that they are positioned at a height where you won’t be walking into them or end up with an exposed bulb. A general rule of thumb is to mount them approximately six feet from floor level.
Fit the Lights
In a room where ceiling and floor/table lamps do the bulk of the work, wall lights add to the overall lighting scheme with subtle style. They can flank a large window to emulate natural daylight and brighten dark corners, or they can be placed in hallways for calm ambient lighting. They are also ideally suited to dimmer switches that give the user more control over the mood of the space.
Before attempting to hang your new fixture, you should consider carefully where you want it and then measure—and measure again, just to be sure—before marking the wall. This will allow you to place the base plates in exactly the right position so that when you hang your sconces, they look as good as possible.
As a general indication, it is generally recommended that wall sconces be hung slightly above eye level. This is to avoid light being reflected off cabinet doors or furniture. However, this may vary considerably from one house to the next, and personal preference must always take precedence.

