
How to Install a Pendant Light Fixture
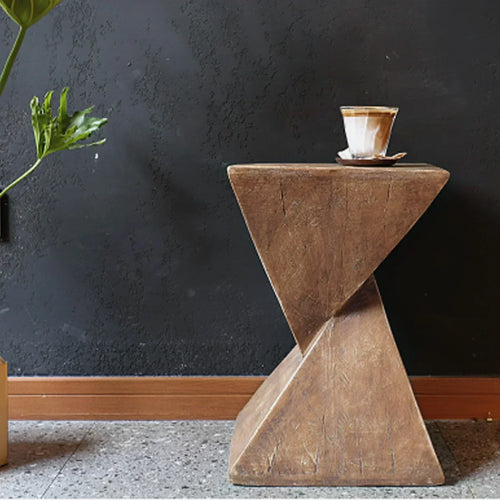
Light has the power to change a room, shifting ambiance and enhancing sightlines. But deciding on size, number and placement can sometimes be overwhelming. This blog will cover some best practices to help you get the most out of your pendant lighting.
When choosing a fixture, make sure it is proportional to your ceiling height. To determine the proper fixture height, simply measure your ceiling in feet and divide by two and three to find the range you should shop within for your desired fixture size. For example, a 10 foot ceiling would require a pendant less than 9 inches high while an 18 foot ceiling could accommodate larger fixtures up to 21 inches high.
Always turn off the breaker before unscrewing the base from your old fixture and before turning it back on after you have installed your new fixture. Also, before connecting wires to your ceiling, it is a good idea to test the new fixture with a socket tester to ensure there is no build-up of electricity after being turned on.
Upon removing your old fixture, inspect the electrical junction box to see if there is a beam or similar support system screwed into it. It is against building codes to secure something to the ceiling with only drywall to hold its weight. Connect the new fixture's wires to the appropriate wires in the junction box by following the manufacturer's instructions. Typically, wires of the same color go together and connections are tightened by screwing on wire nuts. Also, if your house was built before 1970, you will need to attach the new fixture's ground wire (either bare copper or green) by wrapping it around a protruding ground screw and then tucking it into the junction box.
How to Change a Ceiling Light Fixture
Changing a light fixture is usually an easy job, but it is important to make sure the existing wiring is safe. First, turn off the power to the light by flipping the breaker switch to the Off position. Then, use a multi-purpose voltage detector to check the wiring and surrounding area to be certain it's not live. If it is, you'll need to either repair the existing wires or run a new cable to your new fixture.
Before removing the existing light fixture, be sure to remove all light bulbs and glass covers or shades. Next, remove any decorative trim holding the canopy plate to the ceiling (this is typically attached with screws). If your ceiling has a grid, remove any dangling screws that are covering it.
Once the ugly old fixture is removed, you'll want to carefully unbox the new one and examine its wiring. It should have three wire leads: a black hot wire, a white neutral wire, and a bare copper grounding wire. Most modern fixtures come with a wire connector nut, which is used to connect matching wire colours together. If yours doesn't, be sure to pick up a pack at the hardware store.
Connecting the new fixture's wires to the existing wires is usually as simple as twisting the "frayed" threads on the end of the new wire to the exposed ends of the old ones and using a wire connector nut to secure the connection. Then, if the fixture has a green grounding wire, connect it to a dedicated copper wire running from your ceiling's electrical box or to a small green screw on the mounting bracket. Refer to your light fixture instructions for specifics.